To Create a Segment:
Segmentation is a valuable strategy for organizing contacts based on shared characteristics such as tags, and other relevant criteria. This approach allows for targeted communication, enabling tailored campaigns to specific groups within your contact list. By leveraging segmentation, you can efficiently reach out to audiences with similar preferences and behaviours, optimizing the effectiveness of your marketing efforts.
Creating a Segment:
From the contact table, you can create and view both simple and complex segments and saving them for future use.
To create a simple segment of your account’s contact table, follow these steps:
Crafting a Simple Segment:
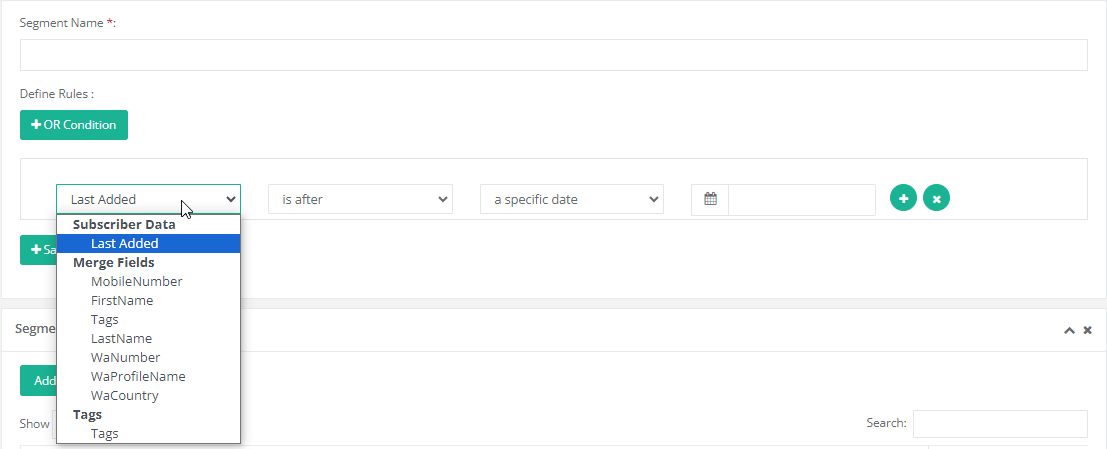
To create a straightforward segment, let’s consider an example where we’ll build a one-condition segment comprising contacts added to the audience after the most recent campaign was dispatched.
- Go to the Contacts & Groups tab.
- Click “View Manage Segments.”
- Select “Add Segment.”

- Set the drop-down menus to Last Added, Merge fields, Tags etc..

- Click on “Save Segment.”
- Click “Edit” to make any desired changes. Once you’re satisfied with the adjustments, click “Save as Segment.”
Utilizing segmentation
There are two methods to utilize segmentation:
First method: Utilizing segmentation for contact list organization:
- Visit the Manage Contacts page and navigate to Segmentation.
- Your created segments will be displayed in the segmentation list.
- Click on the segment name to display the contact filter below in the grid.
Second method: Sending campaigns using segmentation:
- Navigate to the Message Box.
- Click on Customized Message.
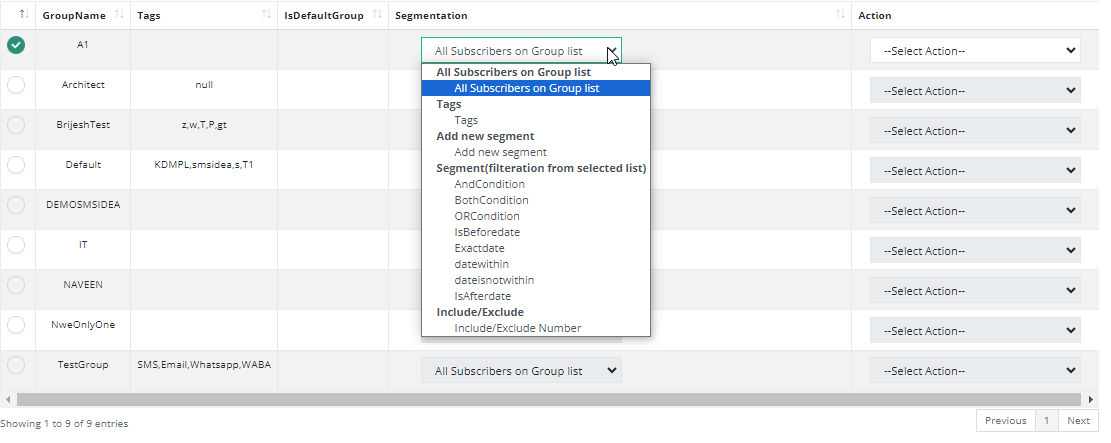
- Choose the segment name from the Segmentation dropdown, which will display the total counts of contacts available on selected segmentation.

