How to create a message template in WhatsApp using Jalpi?
Creating your own WhatsApp message template really cannot be any easier. Here we will show you to create WhatsApp template using Jalpi platform.If you don’t know the template rules, click here.
Ensure your template meets quality standards by following these guidelines. A well-structured template enhances usability and consistency. Read the guidelines here before getting started!
Step 1 Log in to your account, and select Manage Templates
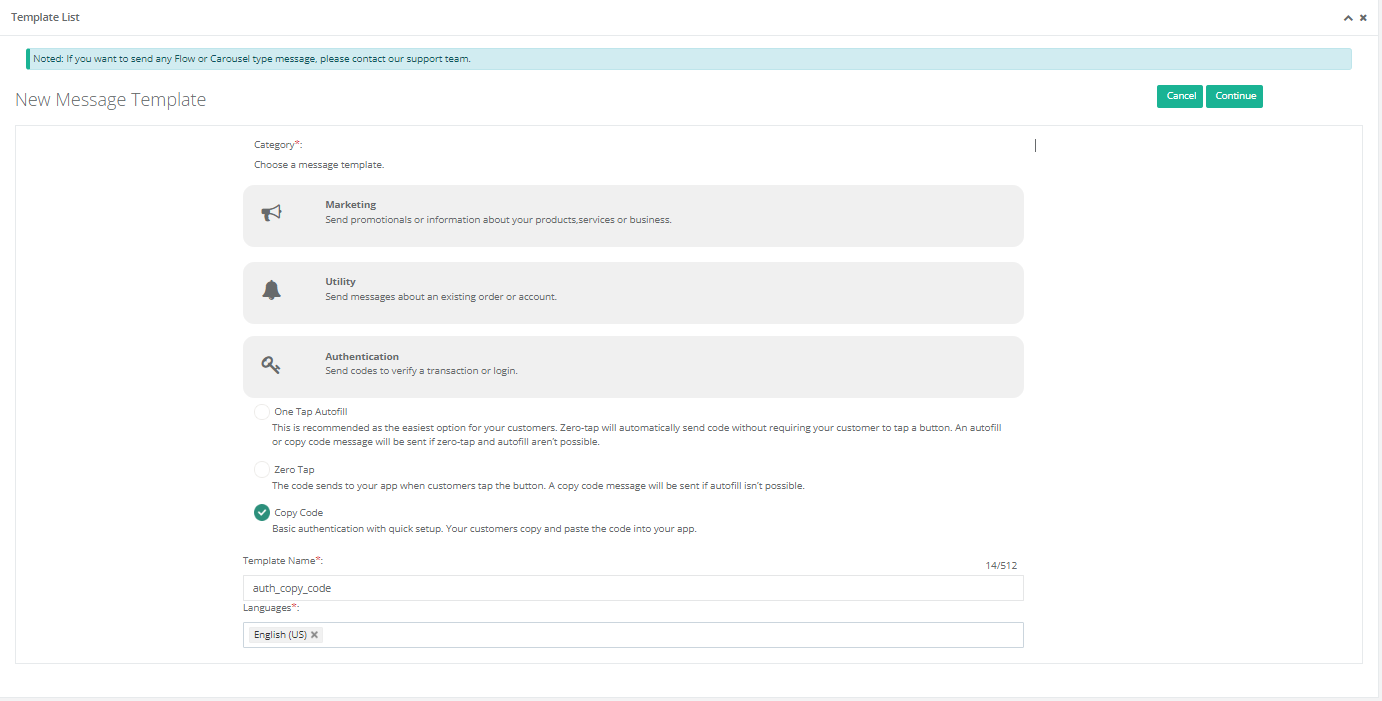
Go to the “Manage Templates” tab and choose your WhatsApp Instance Number. Then click “Add new” to create your WhatsApp Template. Select your category, enter the template name and select a language. Now based on your selected category, you can see a header (optional), body and footer and button fields. You need to fill required fields on this screen and then proceed to “Submit”. You can see the preview of your created template on the right side of the screen.
Authentication Templates
Authentication templates are designed to verify users with one-time passcodes (OTPs), often used for account verification or recovery. These templates are highly restricted and must follow WhatsApp’s guidelines closely.
In the category selection, choose Authentication.Configure the one-time password button (Copy Code button) as required.Ensure your message adheres to content restrictions and is properly formatted.


Marketing Templates
Marketing templates are versatile and can be used for various business goals like generating awareness, driving sales, and more. These templates provide the flexibility to engage with customers effectively.
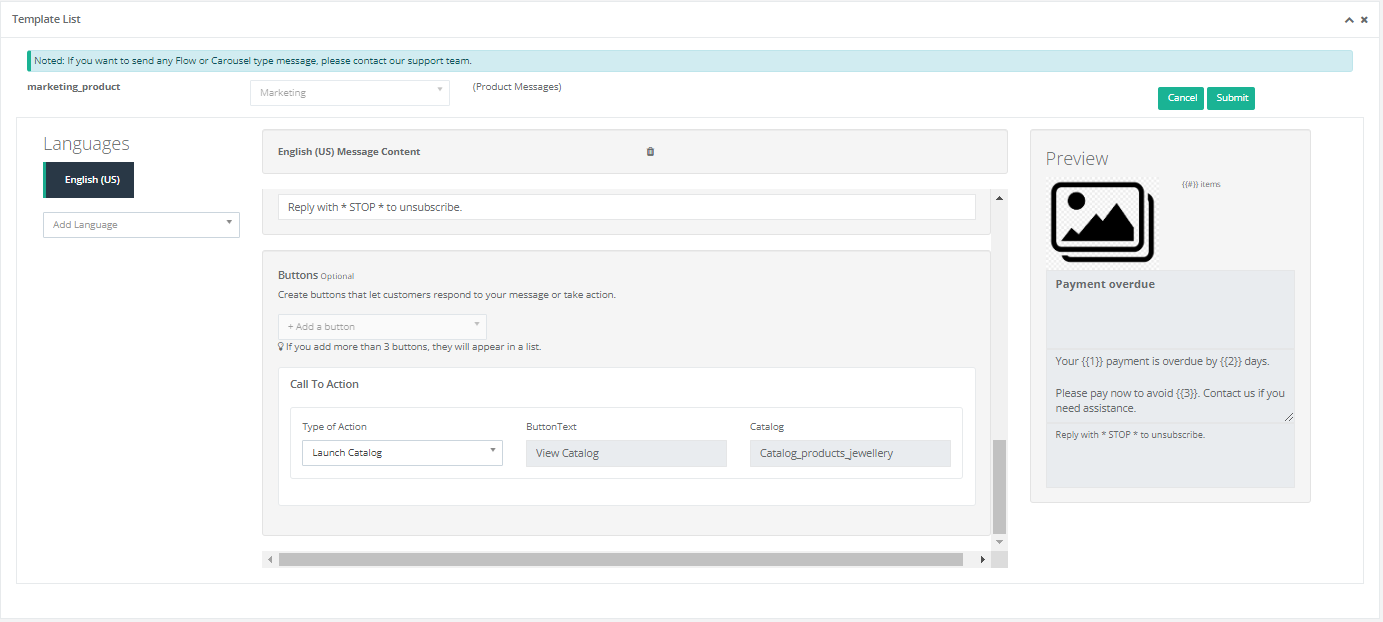
In the category selection, choose Marketing.For custom or product messages, select Product Message (Single or Multiple).


Multi-product message.
Connect your catalogue via Manage Catalogue Connection. If you haven’t configured a catalog configuration our panel, do so first to create product templates.


Utility Templates
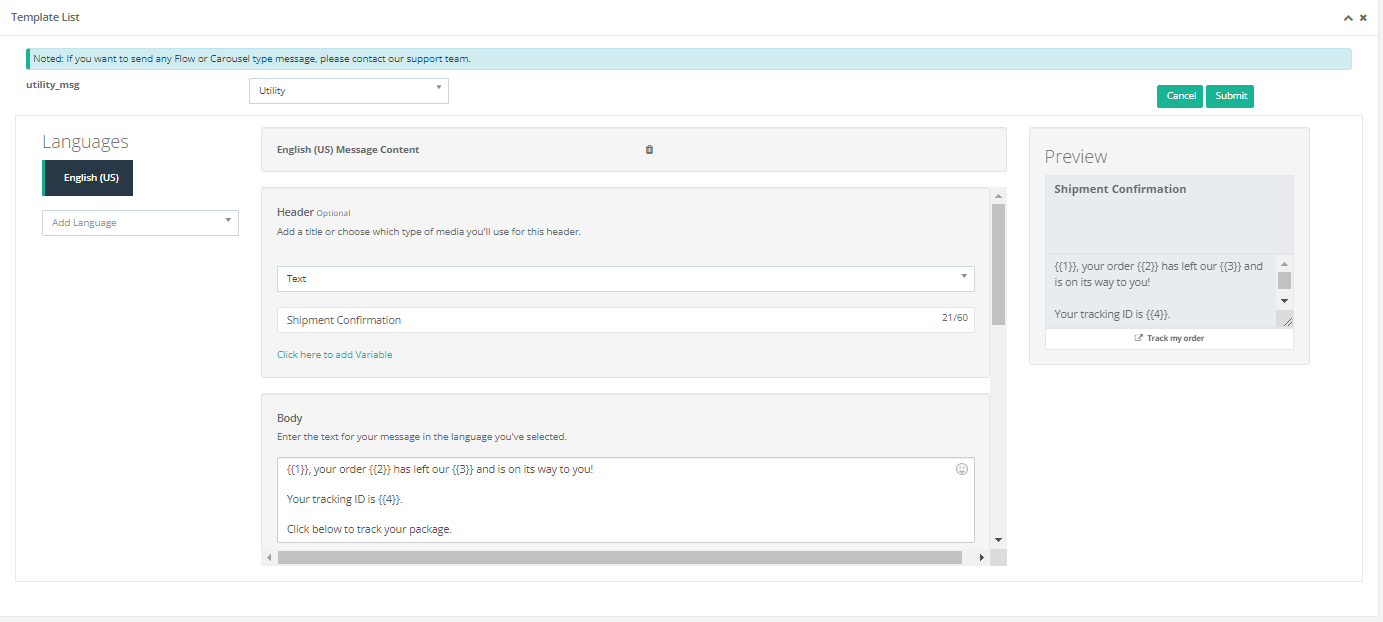
Utility templates are typically triggered by specific user actions, like transactions, account activities, or subscriptions. They must include relevant details about the interaction, such as order numbers or subscription references.
In the category selection, choose Utility.Create a custom template, entering a template name and selecting the desired language.
For button messages, select the button type and fill in the necessary fields related to the action, ensuring the message is tied to a specific user activity (e.g., order confirmation).


