

How to Build a WordPress Website with Jalpi Page Builder: A Step-by-Step Guide
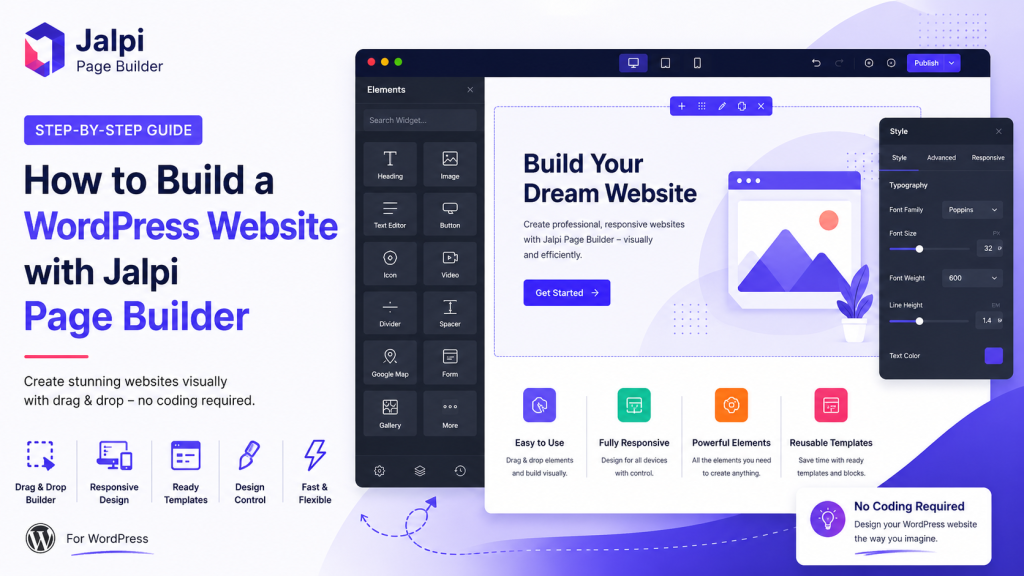
In this guide, we will walk through the general process of creating a WordPress website with Jalpi Page Builder.
What You Need Before Starting
You should have:
- The first step is to install Jalpi Page Builder on your WordPress website.
- After installing and activating the plugin, the page builder becomes available inside your WordPress environment.
- The goal is to keep the website-building workflow inside the WordPress dashboard while providing visual controls for page design.
Step 2: Create a New WordPress Page
For example, you might create:
- Home
- About
- Services
- Contact
- Blog
- Portfolio
- Pricing
The visual editor provides a canvas where you can start constructing the page layout.
Step 3: Build the Page Structure
- A well-structured page usually starts with sections and containers.
- Sections can be used to organize major areas of a page, while containers can help organize individual elements within those areas.
- For example, a homepage might have this structure:
- Header → Hero Section → Services → About → Testimonials → CTA → Footer
- You can create these areas first and then add individual elements inside them.
- This approach makes the page easier to manage and modify later.
Step 4: Add Website Elements
Depending on the page you are creating, you can use elements such as:
- Heading
- Text Editor
- Image
- Icon
- Video
- Google Maps
- Forms
- Call to Action
- Timeline
- Countdown
- Breadcrumbs
- Custom HTML
- Testimonials
- Team
- Pricing
- FAQ
- Accordion
- Tabs
- Gallery
- Carousel
- Counter
- Progress
- Social Icons
- Shortcode
A services section could use headings, icons, text, and buttons to present individual services.
Step 5: Customize Typography
Typography controls can be used to adjust properties such as:
- Font family
- Font size
- Font weight
- Line height
- Letter spacing
- Text alignment
- Text transformation
For example, the main page heading should generally be visually stronger than supporting text, while section headings should provide clear separation between different areas of the page.
Step 6: Customize Colors and Backgrounds
You can also customize the visual appearance of individual elements and sections.
Depending on the element, you can configure:
- Text colors
- Background colors
- Gradients
- Borders
- Border radius
- Box shadows
- Background images
For example, a CTA section can use a contrasting background and button style to attract attention.
Step 7: Adjust Spacing and Layout
- Spacing is an important part of website design.
- You can control properties such as:
- Margin
- Padding
- Width
- Height
- Position
- Alignment
- Column or container spacing
- Instead of adding unnecessary empty elements to create space, use spacing controls where appropriate.
- Consistent spacing can make a website look more organized and easier to navigate.
Step 8: Make Your Website Responsive
- A website should not only look good on desktop computers.
Visitors may access the same website using:
- Desktop computers
- Laptops
- Tablets
- Mobile phones
- Larger headings on desktop
- Smaller headings on mobile
- Multiple columns on desktop
- Stacked content on mobile
- Different spacing between devices
- Different image sizes for smaller screens
Step 9: Create Reusable Templates
Jalpi Page Builder provides a template-based workflow that allows layouts to be saved and reused.
Templates can be useful for:
- Landing pages
- Service pages
- About pages
- Contact pages
- Blog layouts
- Portfolio pages
- Business websites
- eCommerce layouts
Step 10: Use Dynamic Content
- For websites where content changes automatically, manually entering every value may not be practical.
- Jalpi Page Builder’s Dynamic Tags system can be used to work with dynamic content from the WordPress environment.
- Instead of always entering static information, supported element values can be connected to available WordPress content.
- This can be useful for reusable layouts involving:
- Posts
- Pages
- Products
- Custom content
- Other available WordPress data
- Dynamic content becomes particularly useful when creating reusable templates.
Step 11: Build WooCommerce Pages
- If you are creating an eCommerce website, you can also use Jalpi Page Builder with WooCommerce-related content.
WooCommerce layouts can include elements for displaying product information such as:- Products
- Product categories
- Product grids
- Single product layouts
Step 12: Use Theme Builder Features
For more advanced projects, building individual pages may not be enough.
You may want to control reusable website-level components such as headers, footers, or other theme-related layouts.
Jalpi Page Builder’s Theme Builder functionality provides a workflow for working with reusable website structures.
This can be particularly useful for agencies and developers building websites with consistent layouts across multiple pages.
Step 13: Preview Your Website
- Content
- Images
- Typography
- Colors
- Spacing
- Buttons
- Links
- Responsive layouts
- Forms
- Navigation
- Dynamic content
Step 14: Publish Your Page
- Once you are satisfied with the design and responsive behavior, you can publish the page.
After publishing, open the live page and check it again from the visitor’s perspective.
Make sure the important elements are working correctly and that the page provides a clear user experience.
Example WordPress Homepage Structure
A simple business homepage created with Jalpi Page Builder could follow this structure:
Header
Include:
- Logo
- Navigation
- Call-to-action button
Hero Section
Include:
- Main heading
- Supporting text
- Primary button
- Image or visual
Services Section
Show the main services using icons, headings, descriptions, and links.
About Section
Introduce the company, product, or organization.
Testimonials Section
Display customer testimonials or reviews.
Call-to-Action Section
Encourage visitors to take an action such as contacting the business, requesting a quote, or starting a service.
Footer
Include:
- Navigation links
- Contact information
- Social icons
- Copyright information
This type of structure can be adapted for many different WordPress websites.
Why Use a Visual Page Builder?
- The biggest advantage of a visual page builder is that it reduces the amount of repetitive coding required for everyday website design.
- Instead of changing theme files for every visual adjustment, users can work directly with the page structure and design controls.
- This can make tasks such as changing spacing, typography, colors, layouts, and content more accessible.
- At the same time, developers can still work with the underlying WordPress architecture when custom functionality is required.
Official plugin: Jalpi Page Builder on WordPress.org
Jalpi Page Builder for Designers and Developers
Designers can focus on:
- Layouts
- Typography
- Colors
- Spacing
- Responsive design
- Reusable templates
- Developers can focus on:
- WordPress integration
- Custom elements
- Dynamic content
- Templates
- Theme Builder functionality
- Integrations
- Extending the builder architecture
Tips for Building Better WordPress Websites
When building a website with Jalpi Page Builder, keep a few principles in mind.
Official plugin: Jalpi Page Builder on WordPress.org
Keep Your Layout Simple
Avoid adding unnecessary sections or elements. A clear structure generally provides a better user experience.
Maintain Consistent Spacing
Use consistent margins and padding throughout the website.
Create a Clear Typography Hierarchy
Use headings and body text consistently so visitors can quickly understand the content structure.
Design for Mobile
Do not treat mobile responsiveness as an afterthought. Review your pages at different screen sizes during the design process.
Reuse Common Layouts
Save frequently used designs as templates instead of recreating them for every page.
Optimize Your Content
Use properly sized images, concise text, and clear calls to action to keep pages useful and easy to navigate.
Final Thoughts
Building a WordPress website does not always require manually editing HTML, CSS, PHP, and theme files.
With a visual page builder such as Jalpi Page Builder, users can create page structures, add elements, customize designs, build responsive layouts, save templates, work with dynamic content, and create WooCommerce-related layouts through a visual workflow.
The process can start with a simple page structure and gradually expand into reusable templates and website-wide layouts.
For designers, this provides a more visual way to build WordPress websites. For developers, Jalpi provides an architecture that can be extended when a project requires functionality beyond standard visual controls.
If you are looking for a visual approach to WordPress website creation, Jalpi Page Builder provides a workflow worth exploring.
Explore Jalpi Page Builder and start building your WordPress website visually.
Official plugin: Jalpi Page Builder on WordPress.org