

How to Add OTP Verification to Contact Form 7
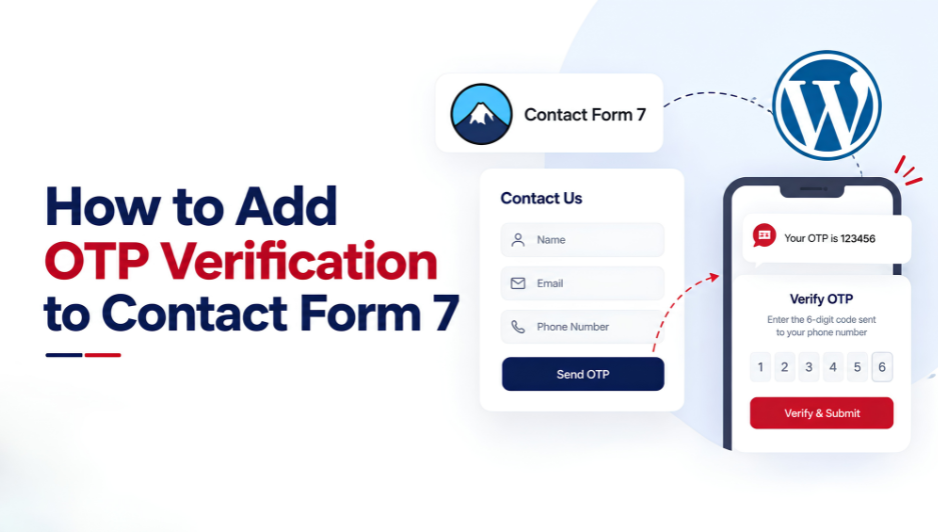
Contact Form 7 is installed on millions of WordPress sites. It is simple to set up and flexible. But it has one problem every site owner eventually runs into: spam.
Bots fill your forms with fake names, random phone numbers, and disposable email addresses. Real people mistype their number and you have no way to reach them. Leads pile up in your inbox but many lead nowhere.
The fix is OTP verification for Contact Form 7.
Adding an OTP step means that before anyone can submit your form, they have to prove they have access to the phone number or email they typed in. If the contact detail is real, the code arrives in seconds and the form goes through. If it is fake or mistyped, the code never arrives and the submission is blocked.
This guide shows you exactly how to add Contact Form 7 OTP verification using the Authyo OTP plugin, which is part of the Jalpi ecosystem. You will see how to install it, configure it, add it to your forms, and get the most out of its features.
What Is the Authyo OTP Plugin for Contact Form 7?
The Authyo OTP for Contact Form 7 plugin is a dedicated add-on that adds phone and email verification to your existing Contact Form 7 forms. It is developed and maintained by Konceptwise Digital Media Pvt. Ltd., the company behind Jalpi and Authyo, and it is available directly on the WordPress plugin repository.
The plugin connects to the Authyo API to send and verify one-time passwords. You will need an active Authyo account and an API key, which you can get through the Jalpi platform.
What the plugin supports:
- Email OTP using the shortcode
- Phone OTP using the Choose your preferred OTP delivery method: SMS WhatsApp Skip Verification ▼ shortcode
- Four delivery channels: Email, SMS, WhatsApp, and Voice Call
- Voice Call OTP is available for Indian numbers
- SMS delivery supports both Indian and international numbers
- WhatsApp OTP through Jalpi’s WhatsApp Business API
- Fallback channels if the primary delivery method fails
- Per-form enable or disable controls
- Works with AJAX forms and popup forms
- Built-in Leads Manager with CSV export
- Google Sheets integration
- WhatsApp notifications to admin after each verified submission
- Country dropdown with flag icons and dial code auto-fill
- Custom redirect URL after successful submission
What You Need Before Installing
Before you start, make sure you have these in place.
- Contact Form 7 installed and active. The Authyo plugin is an add-on and requires it.
- An active Jalpi or Authyo account. You need an API key from your Authyo or Jalpi dashboard.
- WordPress admin access to install and activate plugins.
- A wallet balance in your Authyo account. OTP delivery is usage-based. If balance runs out, the plugin has a fail-safe so forms continue accepting submissions and no leads are lost.
How to Install the Authyo OTP Plugin for Contact Form 7
Go to your WordPress dashboard, open Plugins, then Add New. Search for Authyo OTP for Contact Form 7, click Install Now, then Activate. Once activated, a new Authyo OTP menu appears in your WordPress sidebar.
How to Configure the Plugin
Step 1: Enter Your API Key
Open the Authyo OTP settings from your sidebar. Paste your API key from your Authyo or Jalpi dashboard and save. The plugin connects to Authyo and confirms the key is valid.
Step 2: Choose Your OTP Delivery Channels
Go to the Verification Methods tab. Here you can set your primary OTP delivery channel and configure fallback options.
You have four choices:
WhatsApp OTP is the recommended primary channel for most Indian businesses. It delivers through Jalpi’s WhatsApp Business API and is typically received within seconds. Open rates on WhatsApp are significantly higher than SMS or email, which means fewer users miss the code and more submissions complete successfully.
SMS OTP works with both Indian and international phone numbers. It is a reliable fallback if WhatsApp is not available for a particular user.
Voice Call OTP reads the code out loud over a phone call. This is available for Indian numbers and works well for users who have difficulty receiving text messages.
Email OTP sends the code to the email address entered in the form. This is the best choice for forms where email is the primary contact detail, such as newsletter sign-ups or download request forms.
You can configure multiple fallback channels. If the primary channel fails, the plugin automatically tries the next one. You can also give users the option to choose their preferred method when submitting.
Step 3: Enable OTP on Your Forms
Go to the Form Integration tab. You will see a list of all your Contact Form 7 forms. Toggle OTP verification on for the forms where you want it active. You can enable it on some forms and leave others unchanged.
How to Add OTP Fields to Your Contact Form 7 Form
Once the plugin is configured, you need to add the OTP shortcode to your form so the verification field appears for users.
Open Contact Form 7 and edit the form where you want to add Contact Form 7 phone number verification or email verification.
For phone OTP verification:
Add a phone field and the Authyo phone shortcode together. The plugin reads the phone field value and sends the OTP to that number.
Your Phone Number
[tel your-phone]
When a user enters their phone number and clicks to send the OTP, the code goes to that number. They enter it in the verification box and the form unlocks for submission.
For email OTP verification:
Add your email field and the Authyo email shortcode next to it.
Your Email
[email your-email]
The plugin sends a one-time code to the email address typed in the field. The user enters the code and the form submits once it is verified.
You can use both shortcodes on the same form if you want to verify both the phone number and email address. Save the form when done.
Testing Your OTP Form
Key Features Worth Using
- Every verified submission is automatically saved to a Leads Manager table inside your WordPress dashboard. You can filter leads by form, verification status, or date range. You can also export everything to a CSV file for use in spreadsheets or other tools.
- This means you always have a backup of your verified leads inside WordPress, separate from any email notification setup.
- The plugin can send a WhatsApp notification to your phone after each verified submission. It includes the submitted form data so you can follow up immediately. No extra setup is needed beyond your existing Authyo credentials. Enable or disable it globally or per form.
- Form entries can be sent automatically to a Google Sheet after each verified submission. You configure which form maps to which sheet and how columns are labelled.
- The plugin includes a built-in country selector with search functionality and flag icons. It automatically adds the correct dial code to the phone number before sending the OTP, which ensures accurate delivery for international numbers. You can configure which countries appear in the dropdown or show all of them.
- You can set a redirect URL for each form so that users are taken to a thank-you page or another page on your site after successful submission. This is useful for tracking conversions in analytics tools.
What Changes After You Add OTP Verification
Every lead that arrives in your inbox has a verified contact method. The plugin also has a fail-safe: if your Authyo wallet runs out, forms keep accepting submissions normally so no genuine leads are ever lost.
Conclusion
Adding OTP verification for Contact Form 7 takes under ten minutes with the Authyo plugin. Every lead that passes through the OTP step has a confirmed, real contact method. Your team follows up with confidence. Fake submissions stop reaching your inbox entirely. The plugin is free on the WordPress repository. You need an Authyo account and API key, available through your Jalpi dashboard.