How to Verify Your Meta Business Account for WhatsApp Cloud API
Introduction:
Now that you've successfully configured your WhatsApp Cloud API account on Meta and JALPI communication Platform, it's time to move on to the crucial step of business verification. Business verification allows you to increase your daily messaging limit to an impressive 1,000 messages and more per day. In this guide, we'll walk you through the step-by-step process of verifying your business for WhatsApp Cloud API.
Requirements for Business Verification
To verify your business with WhatsApp, you'll need to prepare the following two essential documents:
1. Business Legal Name Document:
- GST Certificate
- EIN Documentation
- Certificate of Incorporation/Formation
- Business License
2. Business Address & Phone Number Document:
- MSME Udyog Aadhar
- Utility Bill (Water, Electricity, etc.)
- Bank Statement
- Business License
Step-by-Step Guide to Business Verification on WhatsApp:
Step 1: Access the Meta Business Settings
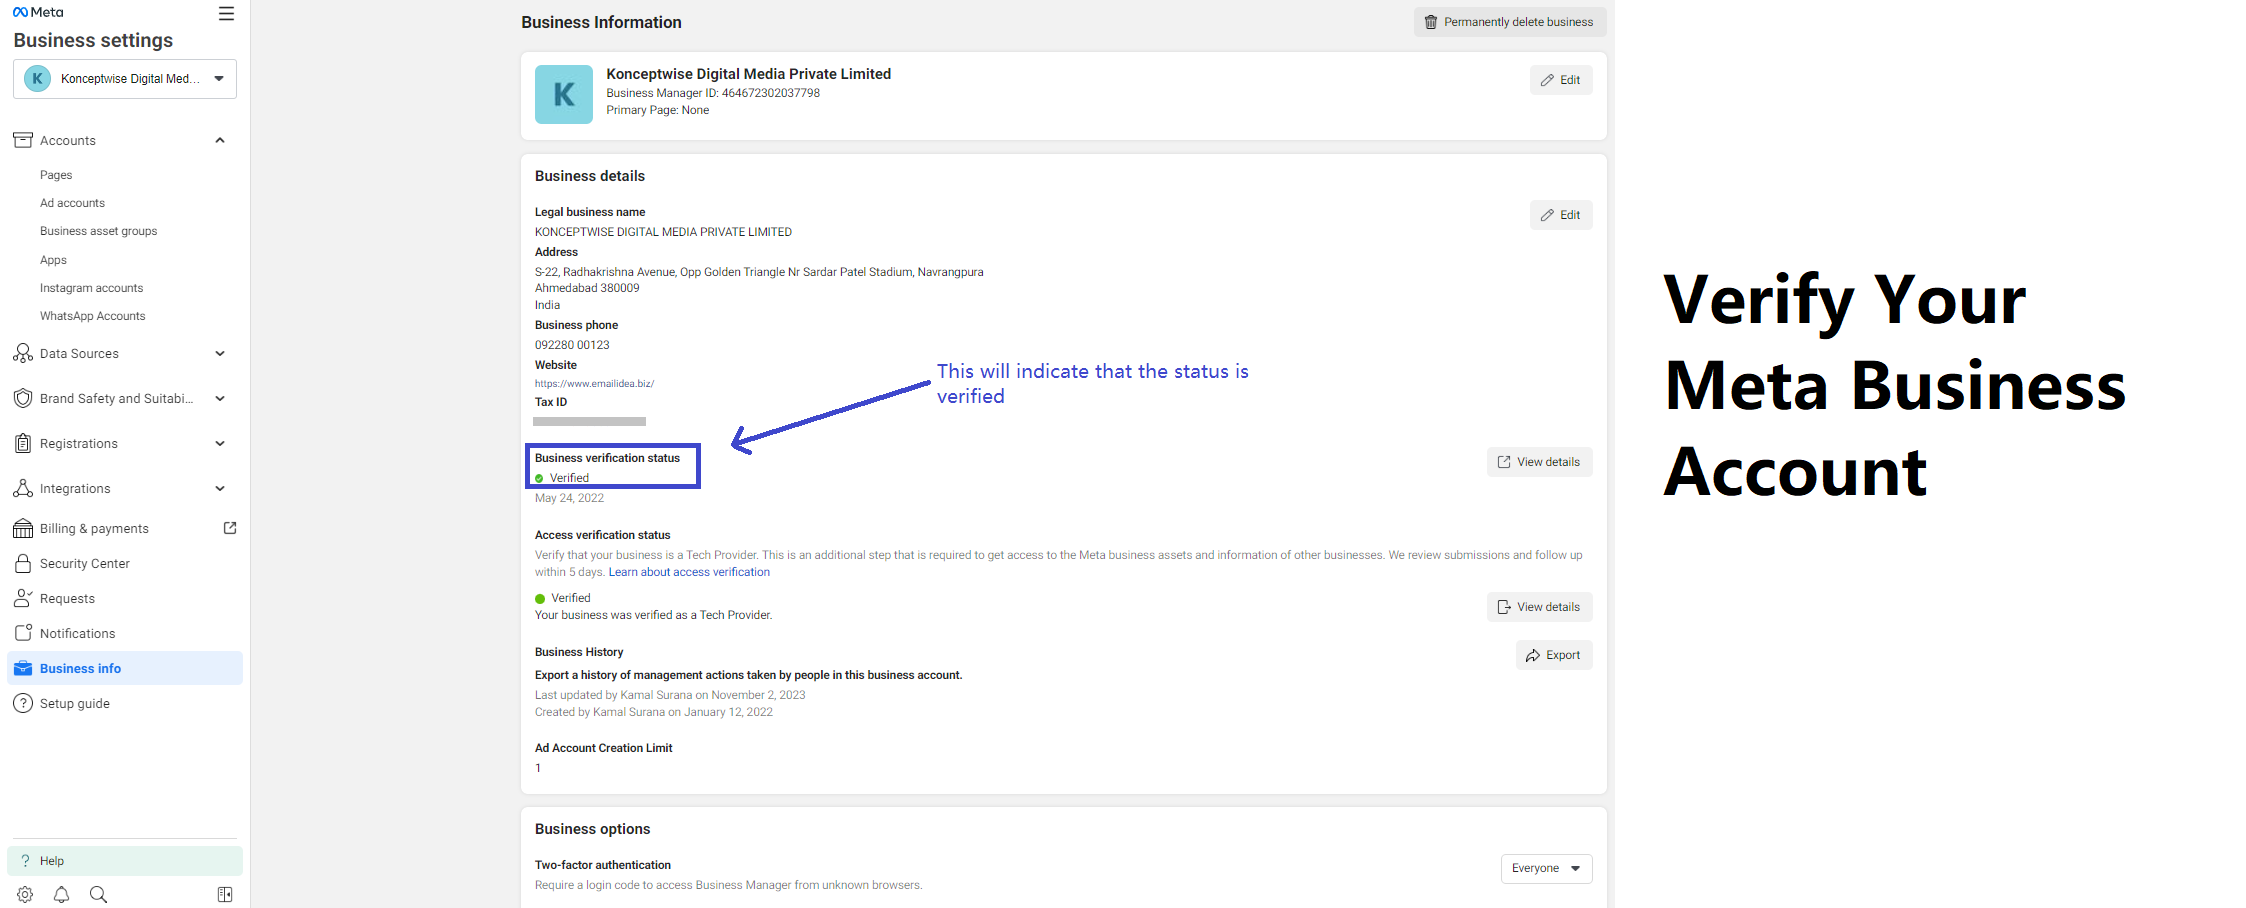
Begin by navigating to the Meta Business Settings. You can access this page by clicking business.facebook.com and selecting the business you used during the API setup process.
Step 2: Initiate Verification
In the Verification section, click on "Start verification." If you see a different button, click on that instead.

Step 3: Start the Verification Process
A popup titled "Verify your organization"will appear. Click on "Get Started" at the bottom.
Step 4: Choose Your Organization's Country
On the next screen, select the country where your organization is located and click "Next."
Step 5: Provide Organization Details
- Enter your organization's name and address exactly as they appear in your legal documents.
- Include your business phone number, which should match the number on at least one of your legal documents & utility bills. You must be able to receive OTPs or calls on this number for verification.
- If your brand name matches your legal business name, enter your business website URL. If they differ, provide the website URL of your brand, ensuring that your legal name is displayed in the footer of your website. The website should be https enabled.

Step 6: Proceed to Contact Method
- Click "Next," which will take you to the "Select a contact method" page.
- Choose the "Text message (SMS)" option, as it is the fastest method, and then click "Next."
Step 7: Verify Your Business
- If Meta's database already contains your business information, select it and proceed.
- If your business is not found, you will be prompted to add supporting documents for verification.
- In the "Verify legal organization name" section, upload a document containing your legal business name. For Indian businesses, the GST certificate is required.
- If asked to verify your phone number, upload a legal document displaying your business number, which should match the number you provided in step 5.
- Click "Next" after completing these steps.
Step 8: Confirm Your Contact Method
- You will encounter a popup to confirm and verify the contact method you selected in step 6.
- Follow the verification process and provide the requested details.
Step 9: Await Confirmation
- After completing the verification process, you will see a confirmation screen.
- Typically, it takes less than one working day for Meta to review your business details. They may request additional information if needed.
- Keep an eye on your email inbox or the notifications section on the Meta portal for their response.

Conclusion:
By following these straightforward steps, you can successfully verify your business on WhatsApp and start using the JALPI Platform to utilise the increased speed limits for Whatsapp messaging. This verification process is essential for unlocking the full potential of the WhatsApp Cloud API and enhancing your communication with customers on the platform. Typically, the review of your business details takes less than a single working day. In certain cases, they may request additional information about your business. It's important to remain vigilant and regularly check both your email inbox and the notifications section within the Meta portal for any correspondence.
Next: Display Name Approval
Once your business verification has been successfully completed, the next milestone on your journey is to secure the approval of your Display Name. This crucial step will pave the way for WhatsApp to elevate your daily messaging limit to an impressive 1,000 messages per day. Stay tuned for our upcoming guide on securing Display Name Approval.